


Framing your photos: rule of thirds, depth and vanishing points
In the world of photography, every image tells a story. But to really capture attention, it all starts with good framing. Too often overlooked by beginners, framing is what makes the difference between a mundane photo and a striking image.
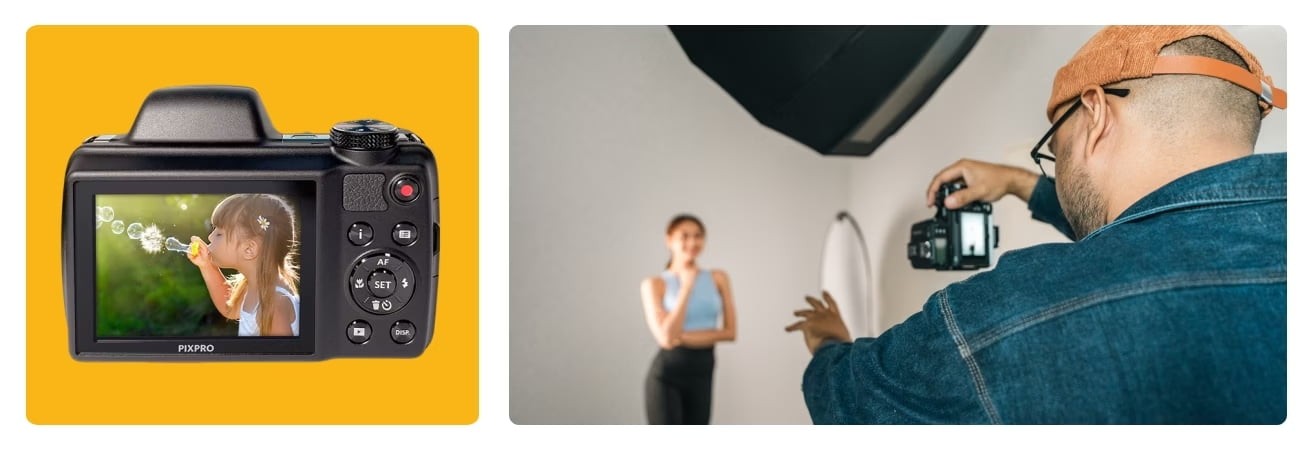
Whether you're using a state-of-the-art smartphone or a more advanced Kodak bridge camera, mastering the art of framing will allow you to fully reveal your photographic vision.
Why is framing essential in photography?
Framing isn't just a technical step, it's the heart of your photo. It's what gives meaning, what captures attention, what tells a story. By choosing what to include and, more importantly, what to leave out, you build an image that speaks.
When you frame, you guide the eye. You decide what the eye will see first, what should stand out. Even with a beautiful subject and perfect light, a poorly framed photo can fall flat. Who hasn't been disappointed when looking at an image that looked great to the naked eye? Often, it's the framing that failed to convey what you saw or felt.
Now let's take a look at the main principles of good framing.
The rule of thirds
Let's move on to one of the simplest and most powerful principles for composing a balanced image: the rule of thirds.
What is the rule of thirds in photography?
This rule is undoubtedly the best known in photography. And for good reason: it's easy to understand, quick to apply and incredibly effective. The principle? Imagine that your image is divided into nine equal parts by two horizontal and two vertical lines. This grid forms four points of intersection. These are the famous ‘strong points’.
Rather than centring your subject, place it on one of these lines or at a point of intersection. This creates a more lively, dynamic image. It's a simple way to add depth to your photos.
For landscapes, avoid placing the horizon in the middle. Position it in the lower third if you want to emphasise the sky, or in the upper third if the ground or water is more important.
In portrait mode, place the body along a vertical line. And for even more impact, align the subject's eyes with a strong point. This is where the viewer's gaze naturally falls.
Good news! Most cameras, including smartphones, have a built-in grid. Turn it on and use it as a visual guide.
Want to take it a step further? Keep in mind that this rule can also be broken. Sometimes a centred composition works better. In architectural photography or when two subjects are facing each other, symmetry can be stronger than an off-centre composition. The important thing is to know why you're choosing one option over another.
Depth of field
What is depth of field?
Depth of field, or DoF, is what allows you to choose what will be in focus in your photo and what will not. By playing with it, you can create depth and guide the viewer's eye. It's a simple but powerful tool.
In concrete terms, DOF refers to the area of sharpness in the image, between the foreground and the background. The shallower the DOF, the more blurred the area around the subject will be. The greater the DOF, the sharper everything in the scene will be.
Want to make a face stand out and blur the background?
A shallow depth of field is ideal. It creates intimacy and character. This is often what we're looking for in portraits. On the other hand, if you're photographing a landscape and want everything to be in focus, from the first blade of grass to the mountains in the background, you'll need a large depth of field.
Factors that influence depth of field
Depth of field is influenced by several factors. The most obvious and easiest to adjust is the aperture of your lens. The more you open the diaphragm (for example, to f/1.8 or f/2.8), the smaller the area of sharpness becomes. This creates a soft, aesthetic background blur often referred to as ‘bokeh’, which is very popular in portrait photography. Conversely, a small aperture (f/8, f/16 or higher) increases the sharpness throughout the scene. This is the ideal setting for landscapes or photos where every detail counts. You can think of the aperture as the pupil of your eye. The larger it is, the more light it lets in, but at the expense of a more limited focus.
The focal length of your lens also plays an important role. The more you zoom in, the shallower the depth of field. This is why telephoto lenses (such as 85 mm or 135 mm) are perfect for isolating a subject. Conversely, wide-angle lenses (25 mm, 35 mm) offer a larger area of sharpness, ideal for capturing an entire scene.
The distance between your subject and your camera also influences the result. The closer you get, the smaller the area in focus. In macro photography, for example, a few centimetres make all the difference. Conversely, by stepping back, you gain depth of field without changing your settings.
Finally, the size of your camera's sensor plays a role in the background. A large sensor (such as those found on some professional Kodak models) offers a shorter depth of field at the same setting. This is what allows you to create those beautiful background blurs in portrait photography. On a smartphone, which has a small sensor, it is more difficult to achieve this effect naturally. The ‘portrait’ modes on phones attempt to simulate this effect using software. As you can see, it's important to choose the right zoom and camera for the situation!
Vanishing points
What is the vanishing point in an image?
Vanishing points are a technique inherited from painting. In photography, they are used to direct the viewer's gaze to a specific place in the image. They are a bit like invisible arrows that indicate where to look.
In concrete terms, a vanishing point is an imaginary point towards which several parallel lines seem to converge. Think of a railway track: the further you look into the distance, the more the rails seem to meet on the horizon. It's a simple optical illusion, but it gives a real impression of depth.
Why use vanishing points?
Vanishing points are much more than just a visual effect. Their primary purpose is to guide the eye. They naturally draw the viewer's eye to the centre of the image, where you want it to rest. When the subject is poorly highlighted, it is immediately noticeable. The eye is lost, and the image loses its power. Vanishing lines act as signposts, organising the way the photo is read.
But their usefulness doesn't stop there. They add rhythm, depth and even movement to a static scene. By accentuating distances, they reinforce the impression of depth. A simple pavement or a row of trees can thus create a very dynamic scene. They can also exaggerate proportions and give a real sense of scale to elements. A building becomes more imposing, a valley more vast.
Finally, vanishing lines have real narrative power. A road disappearing into the horizon can, for example, evoke departure, the unknown or adventure.
How do you find the vanishing point in an image?
Vanishing points are often hidden in the natural lines of our everyday landscapes. Roads, paths, stairways, rivers, corridors or rows of trees... all these elements draw lines that lead the eye to a specific point. To reinforce this effect, start these lines from a corner of the image for a stronger visual impact.
But lines are not always physical. A person's gaze or a simple road sign can play this role. Our eyes instinctively follow the direction of a gaze or a gesture. This is a detail that should not be overlooked.
Combining vanishing points with the rule of thirds is an excellent idea. By placing the vanishing point at one of the strong intersections in the image, you can capture the viewer's attention even more effectively.
To vary your compositions, change your perspective. Try crouching down close to the ground or, conversely, taking a step back. These small adjustments change the way the lines converge and can reveal a whole new atmosphere.
Also, consider playing with the scenery. A window, arch, or door can frame your subject and create a second frame within the image. This type of composition adds depth and guides the eye.
And don't forget, vanishing lines aren't always straight. A curve, a spiral, or even a series of repeating elements that recede into the distance, such as lampposts or columns, can produce the same effect.
Practical tips for framing your photos, whatever your camera
It doesn't matter whether you use an SLR, a bridge camera, a compact or a smartphone. What matters are the basics. Framing your photo well is what will transform it from ordinary to eye-catching. Here are some practical tips to help you achieve this.
Practise the art of framing
Framing is not something you can learn in a day. It's by trying lots of different things that you'll develop your eye. Before you shoot, observe the scene. Move around, try different angles, try horizontal then vertical. You'll see that a few centimetres can make all the difference.
Straighten the horizon in a photo
A crooked horizon is often the little mistake that ruins everything. Take a second to check that it's straight. And if you decide to tilt it for a creative effect, do it deliberately. Turn on the grid on your camera or smartphone, as this will also help you frame vertical lines, such as walls or buildings, more accurately.
Leave space around your subject
If someone is walking or looking to the left, leave space in that direction. This creates a natural balance and gives your image movement. The viewer's eye will instinctively follow this ‘path’. Without this, your photo may look frozen or unbalanced.
Pay attention to the background of your photo
A blurred background can help, but it's not everything. A distracting detail behind your subject, such as a pole or bright light, can be distracting. Before taking the photo, take a quick look at the background. Sometimes, a simple step to the side is all it takes to fix the shot.
Change the angle of your photo
We all tend to take photos at eye level. But that's far from the only option. Try crouching down to be at the same height as a child or animal. Or get up high for a bird's-eye view. These variations give your images personality.
Think about the orientation of the photo
A horizontal frame is perfect for landscapes or wide scenes. Vertical works better for portraits or isolated subjects. It also gives a feeling of closeness. Feel free to change the orientation depending on what you want to convey. This can be enough to clean up your composition and heighten the emotion.
Use the right tools
The grid built into your camera is a valuable ally for framing your photo. And if you have a tripod, use it for stability, especially when light is lacking. For smartphones, there are also apps that help you compose more cleanly and anticipate your framing.
With time, these gestures will become second nature. Framing is not a fixed formula, but a way of seeing that is developed over time. Every photo is an opportunity to try something new. So grab your Kodak camera, even a film camera, and explore.